Firstly, a disclaimer: I am not, nor have I ever been, a hair stylist or specialist. This advice just comes from someone who is quite partial to colouring their hair bright colours but who is also very, very lazy when it comes to hair maintenance. If you are a haircare professional, turn back now. Otherwise you will weep at the questionable life advice I’m about to dispense.
Every now and then, there comes a time when you have to acknowledge that your hair colour is not looking as vibrant as it once did. Red dyes in particular are notorious for fading fast, which means that I have to retouch and redye my red every two to three weeks, depending on how often and how rigorously I wash it.
As much as I love having brightly coloured hair, I am also inherently quite lazy and so I resent having to spend an hour or so waiting as my hair magically changes colour. Thankfully, through trial and error, I have found every conceivable way to cut corners when applying hair colour, so you don’t have to suffer the consequences. You’re very welcome!
In order to refresh your hair colour, you will need:
- Hair dye (I swear by Fudge Paintbox. I’ve used a few shades now and they’re consistently great)
- A pair of cleaning or gardening gloves (NOT the cheap latex ones. Trust me on this. Otherwise your hands will end up whatever colour you don’t want them to be);
- A tint/dye brush ( if you’re lacking the cash or the motivation, a paintbrush or a simple comb will do the trick);
- Paper towels;
- A hair tie (or two);
- GladWrap (or whatever you tend to call plastic cling film that is commonly using for wrapping sandwiches);
- A good colour protecting shampoo and conditioner;
- A dark coloured towel;
- A dark shirt or bathrobe (basically anything you don’t need to pull over your head that you can wear when you’re dyeing your hair).
Step one: Lie down your paper towels on the bench and assemble your gloves, comb, hair ties and comb on top. Heed my warning: this is ESSENTIAL to do first, otherwise you run the risk of dyeing your vanity/bathroom sink whatever colour you’re using.
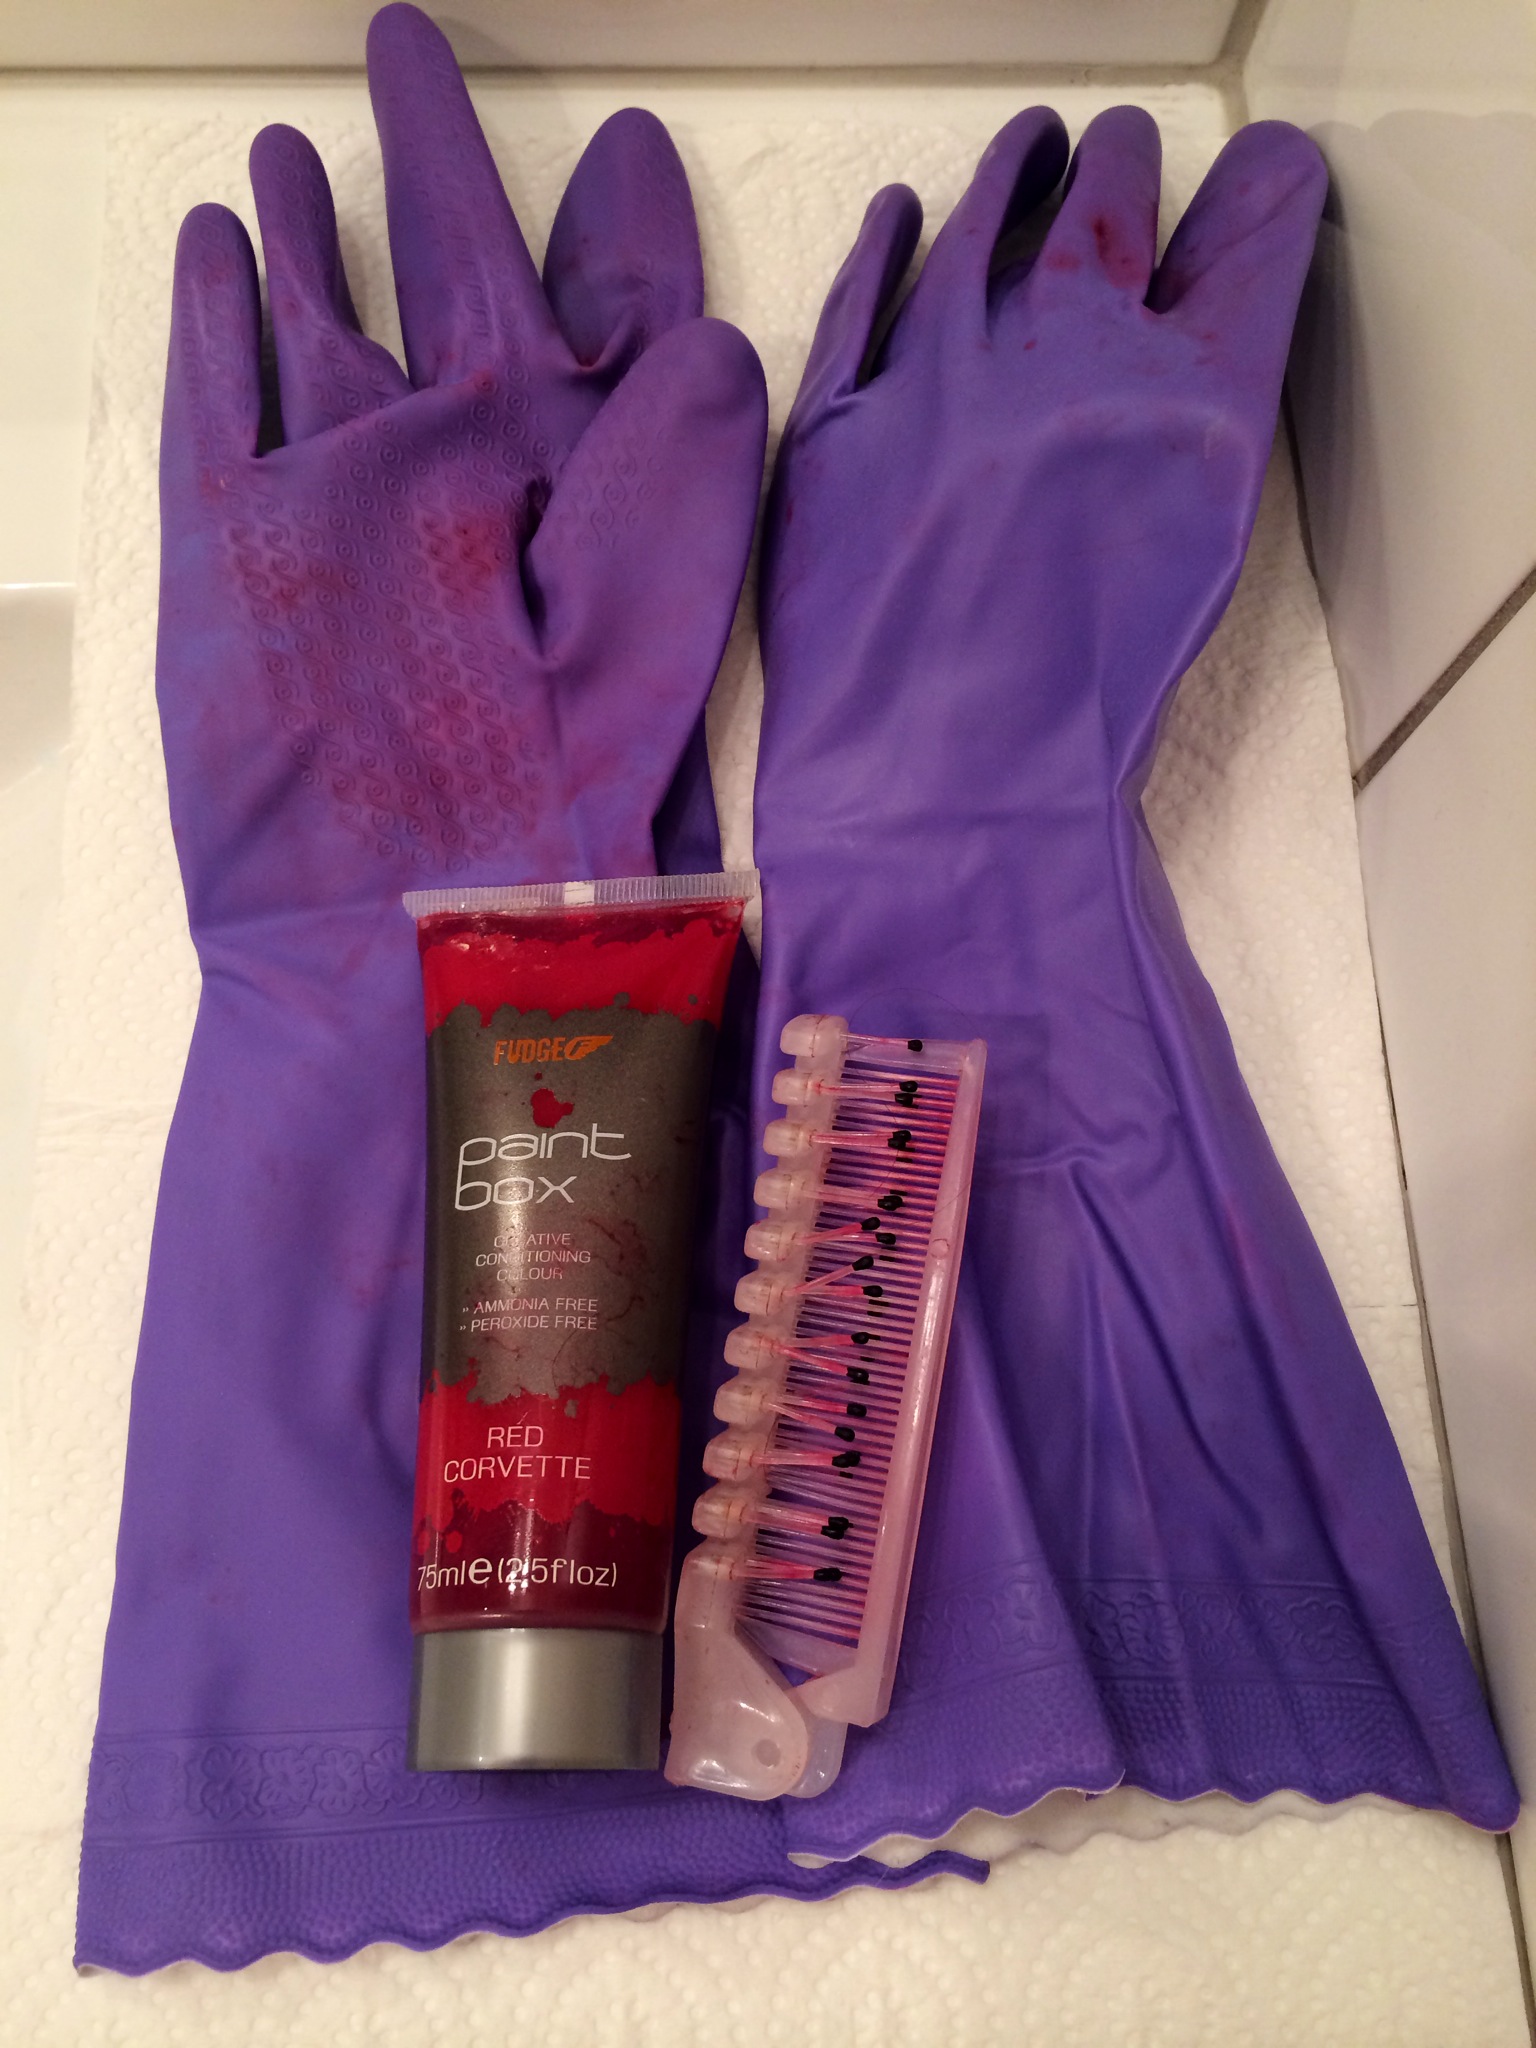
It looks a bit like an operating theatre, I know, but these are the tools you’ll need to attain hair colour greatness
Step two: Wash your hair thoroughly with shampoo. Towel dry your hair, tie it into sections, and get ready for the carnage that is about to ensue.
Step three: If you’ve got a tint or dye/paint brush, apply the dye and ensure that the colour is applied evenly. Comb it through each section before moving onto the next one. This makes it much easier to track which bits you’ve dyed and which bits are lacking. Just be sure not to tie your hair through the dyed bit – otherwise you might get stripes!
If you don’t have a tint brush, you can use your hands and a comb! Put the dye on your (gloved) hands and massage the colour into your hair with your fingers, then use that comb to pull it through. This does NOT guarantee the colour will be applied evenly, but it’s definitely an effective way of applying colour in a hurry!
Step four: Fashion a hairpiece out of GladWrap and wrap the dyed bits of your hair in it. This isn’t just for my amusement; it will help your colour process faster and it’s easier to get your hands on than a plastic shower cap (a sensible alternative).
Step five: Leave your hair to process for half an hour (or less, depending on how intense you want the colour to be).
You’ll have a bit of time to kill, so here’s some additional advice: If you’ve managed to dye your skin an interesting colour instead of your hair, you’re lucky that Paintbox is very easy to remove! Simply put a bit of shampoo on a damp flannel and wipe – it should come straight off.
Similarly, if you’ve somehow managed to get a splatter of colour somewhere around your bathroom and the dye is still wet, simply use a bathroom spray – it should, much like the ads, just wipe away. Painted walls are a bit more problematic. I’m yet to find a good solution for removing dye from paint, but those Japanese melamine magic squares you can buy at any good Daiso or JapanWorld make a considerable amount of difference to your paintwork.
One massive tip: this stuff is easy to get off your skin if it hasn’t set, but try not to get it on your clothes as Paintbox is not very forgiving (hence the dark coloured items I suggested earlier). As I said in an earlier post, my current colour of choice, Red Corvette, is described by Paintbox as “a racy colour that could leave a mark” and it does – on your pillowcases; your sheets, your clothes and your loved ones if you’re not overly cautious!
Step six: Rinse your hair and ensure that you’ve got the bulk of the colour out. I know people say to stay in there and wait until the water runs clear, but you’ll be in there for hours, cold and alone, if you fully commit to this. Be sure to condition your hair too; your hair will need a lot of love now it’s got a host of new chemicals in it!.
If you’ve got the additional time (or the budget), I’d really recommend you apply a further hair treatment before blow drying your hair. If you’re on a budget, Schwarzkopf Essence Ultime Omega Repair Beauty Balm is a product I’ve reviewed before and am still a big advocate of. Alternatively, if you’ve got a bit more money to spare, I’m loving Redken’s Smooth Lock Stay Sleek Anti Frizz Cream – it keeps your hair soft, smooth and under control.
So that’s my (questionable) advice. Have you got any valuable tips and tricks to add? I’d love to hear it!
Analiese x
